Understanding how to open server logs in Roblox Studio is an essential skill for any serious developer, whether you’re building the next Blox Fruits or a groundbreaking new experience. In 2026, efficient debugging and performance monitoring remain critical for creating engaging, bug-free games. This guide will walk you through the precise steps to access and utilize these vital logs, ensuring your Roblox creations run smoothly and reliably.
Server logs provide a window into the inner workings of your game’s server-side scripts. They are your first line of defense against errors, performance bottlenecks, and unexpected behavior. Mastering log access empowers you to diagnose problems swiftly, refine gameplay, and deliver a polished experience to players.
What are Server Logs in Roblox Studio?
Server logs in Roblox Studio are essentially records of events, messages, and errors generated by your game’s server-side code. Think of them as a comprehensive diary detailing everything your scripts are doing behind the scenes. They provide crucial feedback on script execution.
These logs are invaluable for debugging. They help you pinpoint exactly where and when issues occur. Without them, troubleshooting complex problems would be like searching for a needle in a haystack—blindfolded. They reveal critical runtime information.
While client-side logs show what’s happening on a player’s device, server logs focus on the game server’s operations. This distinction is vital for understanding which part of your code is causing a particular problem. Both are important, but this guide focuses on the server perspective.
Why You Need to Access Server Logs for Roblox Game Development
Accessing server logs is not just a good practice; it’s a fundamental aspect of professional Roblox game development. They are indispensable for maintaining game quality and responsiveness. Here’s why they are so crucial.
Debugging Errors and Glitches
Logs instantly highlight script errors, warnings, and unhandled exceptions. This makes finding and fixing bugs much faster than relying solely on in-game testing. Developers can quickly identify lines of code causing issues. For example, if players report items disappearing in your Tycoon game, logs can show failed database writes.
Monitoring Performance and Optimization
Server logs can reveal performance bottlenecks, such as scripts consuming excessive resources or long-running computations. By analyzing timestamps and execution patterns, you can optimize your code for smoother gameplay. This is key for large games like Adopt Me!, where server lag can ruin the player experience.
Ensuring Game Security and Integrity
Logs can sometimes expose unusual activity or potential exploits. Monitoring server messages can help you detect attempts to bypass game mechanics or manipulate data. They act as an early warning system against malicious behavior. Protecting your game’s integrity is paramount.
Understanding Player Interactions (Server-Side)
For complex systems, logs can show how the server processes player actions and game state changes. This is invaluable for understanding how your game operates under various conditions. It helps you verify that server-side logic is functioning as intended, especially in multiplayer Roblox games.
How to Open the Server Logs in Roblox Studio: Step-by-Step
Opening server logs in Roblox Studio is straightforward. The primary method involves using the “Output” window, but the “Developer Console” also offers powerful server-side insights. Let’s break down each method.
Method 1: Using the Output Window (Most Common)
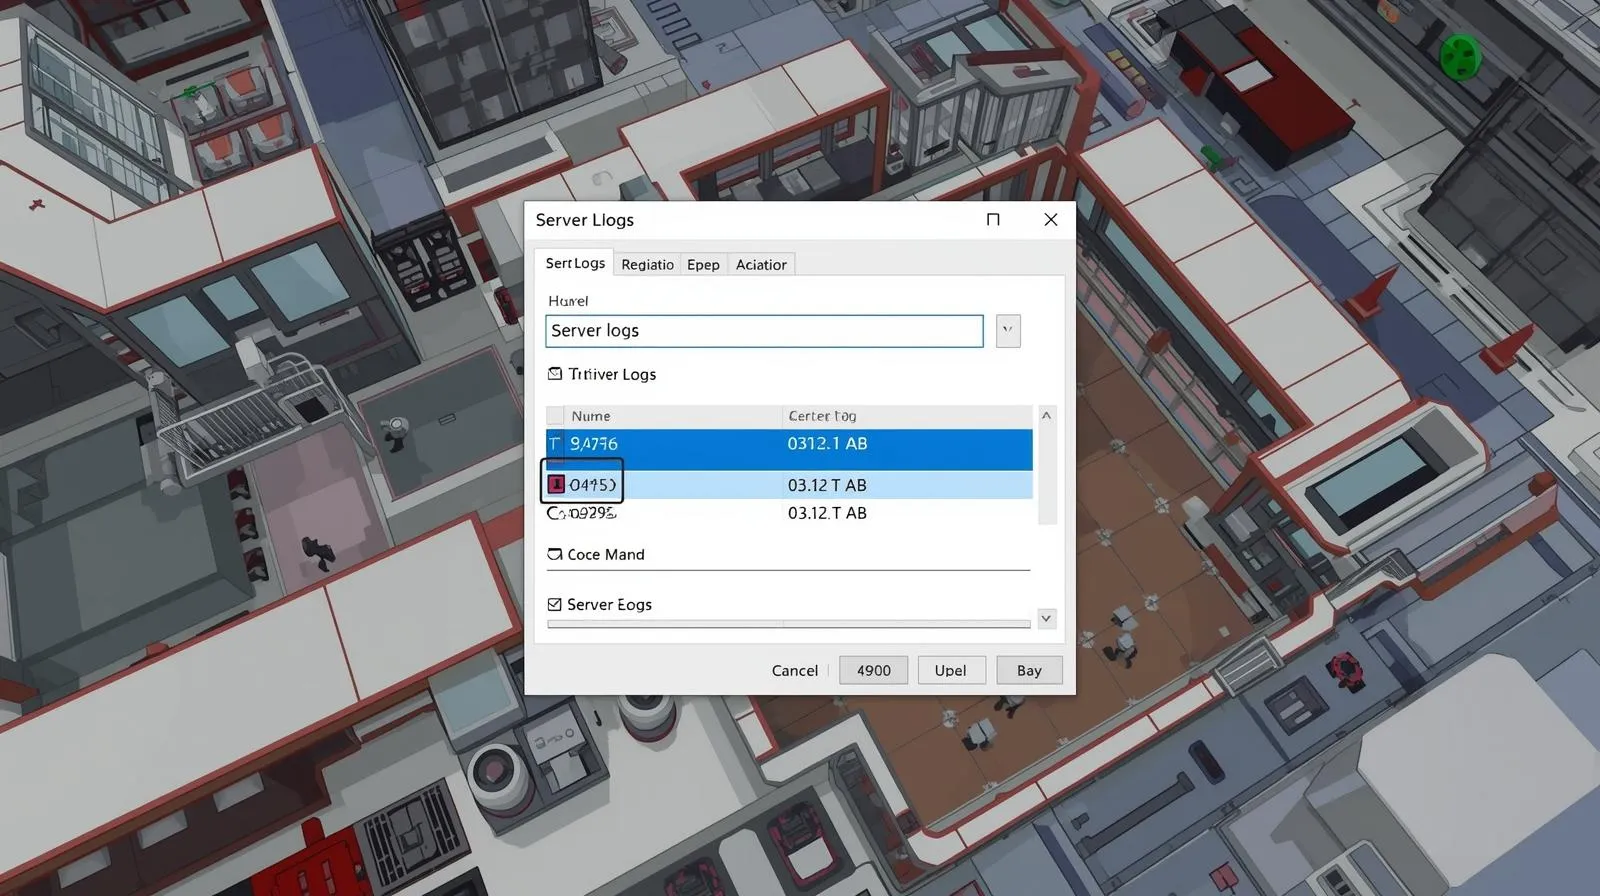
The Output window is your primary tool for viewing script output, warnings, and errors directly within Roblox Studio. It displays messages from both client and server scripts. This is where most of your basic logging will appear.
- Open Roblox Studio: Launch the application and open the specific place (game) you are working on.
- Access the View Tab: Navigate to the “View” tab located in the top menu bar of Roblox Studio. This tab contains various utility windows.
- Click “Output”: Within the “View” tab, find and click the “Output” button. This action will open the Output window, usually docking it at the bottom of your Studio interface.
- Run Your Game: To see server logs, you need to run your game. Click the “Play” or “Run” button in the “Home” tab. As your game runs, messages from your scripts (using
print()) will appear here.
The Output window shows print() statements from both local and server scripts. It also displays any errors or warnings that occur during script execution. This makes it an indispensable tool for real-time debugging.
Method 2: Using the Developer Console (Client and Server)
The Developer Console is a powerful, in-game tool accessible during runtime. It provides separate tabs for client-side and server-side activity, offering a more granular view than the Output window alone. This is particularly useful for live testing.
- Run Your Game: Start your game in Roblox Studio by clicking “Play” or “Run” (or even “Play Solo”). You must be actively playing the game to access this console.
- Open the Console: While playing, press
F9on your keyboard. This hotkey brings up the Developer Console overlay. Alternatively, in the “Test” tab, click “Current Client” and then “Developer Console.” - Navigate to “Server” Tab: Inside the Developer Console, you will see several tabs. Look for and click on the “Server” tab. This tab displays all messages, errors, and warnings originating from your game’s server scripts.
- Filter Messages (Optional): The Developer Console often includes filtering options. You can choose to view only Errors, Warnings, or Information messages. This helps in focusing on critical issues without distraction.
The Developer Console’s “Server” tab is excellent for observing how your server scripts behave in a live environment. It’s perfect for troubleshooting issues that only manifest during actual gameplay.
Method 3: Scripting for Custom Logging (Advanced)
For advanced logging and structured data capture, you can implement custom logging within your server scripts. This allows you to log specific events, variable states, and custom messages to the Output window or even external services. This method offers unparalleled control.
- Use
print()function: The most basic form of custom logging is using theprint()function in your server scripts.-- Example server script local function onPlayerJoined(player) print("Player " .. player.Name .. " joined the game at " .. os.date()) -- Your game logic here end game.Players.PlayerAdded:Connect(onPlayerJoined) print("Server script initialized.")This will send messages directly to your Studio Output window and the Developer Console’s “Server” tab.
- Implement a Custom Logger Module: For more sophisticated logging, consider creating a module script. This module can format messages, include timestamps, and even categorize log types (info, warn, error). This approach helps keep your logs clean and readable.
-- Example: Server-side ModuleScript named 'Logger'
local Logger = {}

local function logMessage(level, message)
    local timestamp = os.date("%Y-%m-%d %H:%M:%S")
    print("[" .. timestamp .. "] [" .. level .. "] " .. message)
end

function Logger.Info(message)
    logMessage("INFO", message)
end

function Logger.Warn(message)
    logMessage("WARN", message)
end

function Logger.Error(message)
    logMessage("ERROR", message)
end

return Logger
You can then use it in your scripts:
local Logger = require(game.ServerScriptService.Logger); Logger.Info("Game started!");
Understanding Log Messages: Errors, Warnings, and Info
Interpreting the messages in your server logs is key to effective debugging. Not all messages indicate a problem; some are purely informational. Knowing the difference helps you prioritize issues.
- Errors: These are critical messages indicating that a script has failed to execute properly. Errors often halt script execution or cause unexpected behavior. They appear in red and require immediate attention.
- Warnings: Warnings signal potential problems that might not immediately break your game but could lead to issues later. They appear in yellow. Examples include deprecated functions or unsafe coding practices.
- Information: These are general messages from your
print()statements or Roblox Studio itself. They provide context about script execution and game events. They appear in white or light grey.
Best Practices for Using Server Logs in Roblox Studio
Effective logging goes beyond just opening the window; it involves strategic use of log messages. Following these best practices will significantly improve your debugging workflow and the overall quality of your Roblox games.
Be Specific with Log Messages
Vague messages like “Error here” are unhelpful. Include variable values, function names, and context in your print() statements. For instance, print("Player load failed for: " .. player.Name .. " - Reason: " .. error_message) is far more useful. This helps pinpoint exact problems.
Use Different Log Levels
Employ distinct levels for your logs (e.g., info, warning, error) using a custom logging module. This allows you to filter messages and focus on critical issues. It provides a clear hierarchy of importance.
Log Key Events and States
Don’t just log errors; log important milestones in your game logic. This includes player joins/leaves, critical data saves, item purchases, or complex function calls. These informational logs provide a narrative of your game’s flow. They can reveal logic errors even when no formal error is thrown.
Avoid Excessive Logging
Too many log messages can overwhelm the Output window, making it hard to find important information. It can also slightly impact performance, especially in production environments. Log strategically, not exhaustively. Remove temporary debugging logs before publishing.
Leverage the Developer Console’s Filtering
During live testing, utilize the Developer Console’s built-in filtering options. You can quickly switch between viewing all messages, just errors, or just warnings. This focused view enhances your ability to identify and address issues rapidly.
Advanced Debugging Strategies for Roblox Developers
Moving beyond basic logging, advanced techniques can significantly elevate your debugging prowess. These strategies are particularly useful for complex Roblox experiences or when dealing with intermittent bugs.
Remote Event and Function Logging
Many game mechanics rely on RemoteEvents and RemoteFunctions for client-server communication. Log when these events are fired, received, and processed on both sides. This can quickly reveal discrepancies in network communication or data handling. It’s crucial for multiplayer Roblox games.
Try-Catch Blocks for Robust Error Handling
While Lua doesn’t have native try-catch, you can simulate it with pcall() (protected call). Wrap critical or potentially error-prone code within pcall() to gracefully handle errors and log them without crashing your server script.
local success, result = pcall(function()
    -- Code that might throw an error
    local data = game.DataStoreService:GetDataStore("MyStore"):GetAsync("Player_" .. player.UserId)
    return data
end)

if not success then
    Logger.Error("Failed to load player data: " .. result)
else
    -- Process 'result'
end
This prevents a single error from breaking entire systems.
Visualizing Debug Information In-Game
Sometimes, textual logs aren’t enough. Consider using Debug.Draw (if available and applicable) or creating simple BillboardGuis to display debug information directly in your game world. For example, show a player’s current health above their head during testing. This provides immediate visual feedback.
Analyzing Server Performance with Microprofiler
For deep performance analysis, the Microprofiler (accessed via Ctrl+F6 in-game) is an invaluable tool. While not a “log” in the traditional sense, it records detailed execution times for all running scripts and engine tasks. Correlate Microprofiler spikes with your server logs to identify problematic script sections.
Common Logging Mistakes to Avoid
Even experienced developers can fall into common logging pitfalls. Avoiding these ensures your logs remain a helpful resource, not a source of frustration.
- Logging Sensitive Information: Never log player passwords, personal data, or API keys directly to the Output window. This is a severe security risk. Keep sensitive data out of your public logs.
- Leaving Debug Logs in Production: Always remove or comment out excessive
print()statements before publishing your game. While Roblox Studio handlesprint()efficiently, it’s unnecessary noise and can slightly impact performance. - Inconsistent Log Formatting: If you’re using custom logging, maintain a consistent format. This makes logs easier to read and parse, especially when dealing with large volumes of data. Uniformity aids quick understanding.
- Ignoring Warnings: Warnings are not errors, but they are often precursors to bigger problems. Address warnings promptly to prevent future bugs or performance issues. They are hints from the engine.
- Not Testing Logging Itself: Ensure your logging system (especially custom ones) works as expected. Test that messages appear correctly and in the right place. A broken logging system is useless.
Future Trends in Roblox Development and Monitoring (2026)
As Roblox continues to evolve, so too will the tools and strategies for monitoring and debugging. By 2026, we can expect more sophisticated server management features.
- Enhanced Built-in Monitoring Dashboards: Roblox might introduce more integrated analytics and monitoring dashboards directly within the Creator Dashboard. These could provide real-time server health, player metrics, and automated error reporting.
- Advanced Cloud Logging Integrations: Deeper integration with third-party cloud logging services could become more accessible, allowing developers to store, query, and visualize vast amounts of server log data. This would be invaluable for large-scale Roblox experiences.
- AI-Assisted Debugging Tools: AI could play a role in analyzing log patterns to predict potential issues before they occur or to suggest fixes for common errors. Imagine an AI sifting through your Roblox tips for optimal code.
- Improved Performance Profiling: Expect more granular and user-friendly performance profiling tools directly within Studio. These could offer even deeper insights into script execution and memory usage. This helps developers create best Roblox games with less lag.
Conclusion
Mastering how to open server logs in Roblox Studio is a fundamental skill that underpins successful game development. From the simple Output window to the robust Developer Console and advanced custom logging, these tools are your eyes and ears into your game’s server-side operations. By understanding, accessing, and utilizing these logs effectively, you can swiftly diagnose errors, optimize performance, and create truly exceptional Roblox games that stand out in 2026 and beyond. Keep experimenting, keep learning, and let your logs guide you to build amazing experiences.
Frequently Asked Questions (FAQ)
Q1: What is the fastest way to view server logs in Roblox Studio?
The fastest way to view server logs is by opening the “Output” window in Roblox Studio. Navigate to the “View” tab and click “Output.” Then, run your game using “Play” or “Run” to see server messages and errors appear instantly.
Q2: Can I see server-side print statements while playing my game on Roblox?
Yes, you can see server-side print() statements while playing your game. Press F9 during gameplay to open the Developer Console, then navigate to the “Server” tab. This tab displays all messages originating from your game’s server scripts.
Q3: What is the difference between client logs and server logs in Roblox Studio?
Client logs show events and errors happening on a player’s device (e.g., UI interactions, local scripts). Server logs display events and errors from the game server itself (e.g., data saving, game logic, server scripts). The Developer Console separates these into different tabs for easier debugging.
Q4: Why are my server logs not showing any messages?
If your server logs are empty, ensure your scripts are correctly using print() statements or a custom logger. Also, verify that the scripts are running on the server (e.g., placed in ServerScriptService). Remember to run your game in Studio to activate logging.
Q5: How can server logs help improve my Roblox game’s performance?
Server logs can highlight performance bottlenecks by showing slow script execution times, excessive loop iterations, or large data operations. By reviewing these logs, you can identify and refactor inefficient server-side code, leading to smoother gameplay and a better experience for your players.