Want to build your first game in Roblox Studio and unleash your creativity? This comprehensive guide provides expert, step-by-step instructions to get you started in 2026. With over 200 million monthly active users, Roblox offers an unparalleled platform for aspiring game developers. Learning Roblox Studio now opens doors to endless possibilities and a thriving community.
This guide will empower you to create engaging Roblox games, turning your imaginative ideas into interactive experiences. We will cover everything from initial setup to publishing, ensuring you grasp core Roblox development concepts. Get ready to embark on an exciting journey into game creation.
Getting Started with Roblox Studio: The Foundation
Before diving into creation, you need the right tools. Roblox Studio is the free, powerful software used by millions of developers. It’s your gateway to designing, building, and publishing immersive Roblox games for a global audience.
Downloading and Installing Roblox Studio
Downloading Roblox Studio is quick and easy. First, ensure you have a Roblox account. Then, visit the official Roblox website or search for “Roblox Studio download.” Look for the prominent “Download Studio” button on the site.
Clicking this button will initiate the download of a small installer file. Run the installer, following the on-screen prompts. The process is straightforward, typically taking only a few minutes to complete. This prepares your computer for game development.
System Requirements for Smooth Development
While Roblox Studio is generally lightweight, meeting certain system requirements ensures a smooth experience. A modern processor, at least 4GB of RAM, and a decent graphics card are recommended. These specifications allow for efficient asset loading and robust testing environments. Checking these beforehand helps avoid frustrating lags.
Good hardware significantly improves your workflow, especially when making games on Roblox with complex visuals. Ensure your operating system is up-to-date for optimal performance and compatibility. This foundational check is crucial for any beginner.
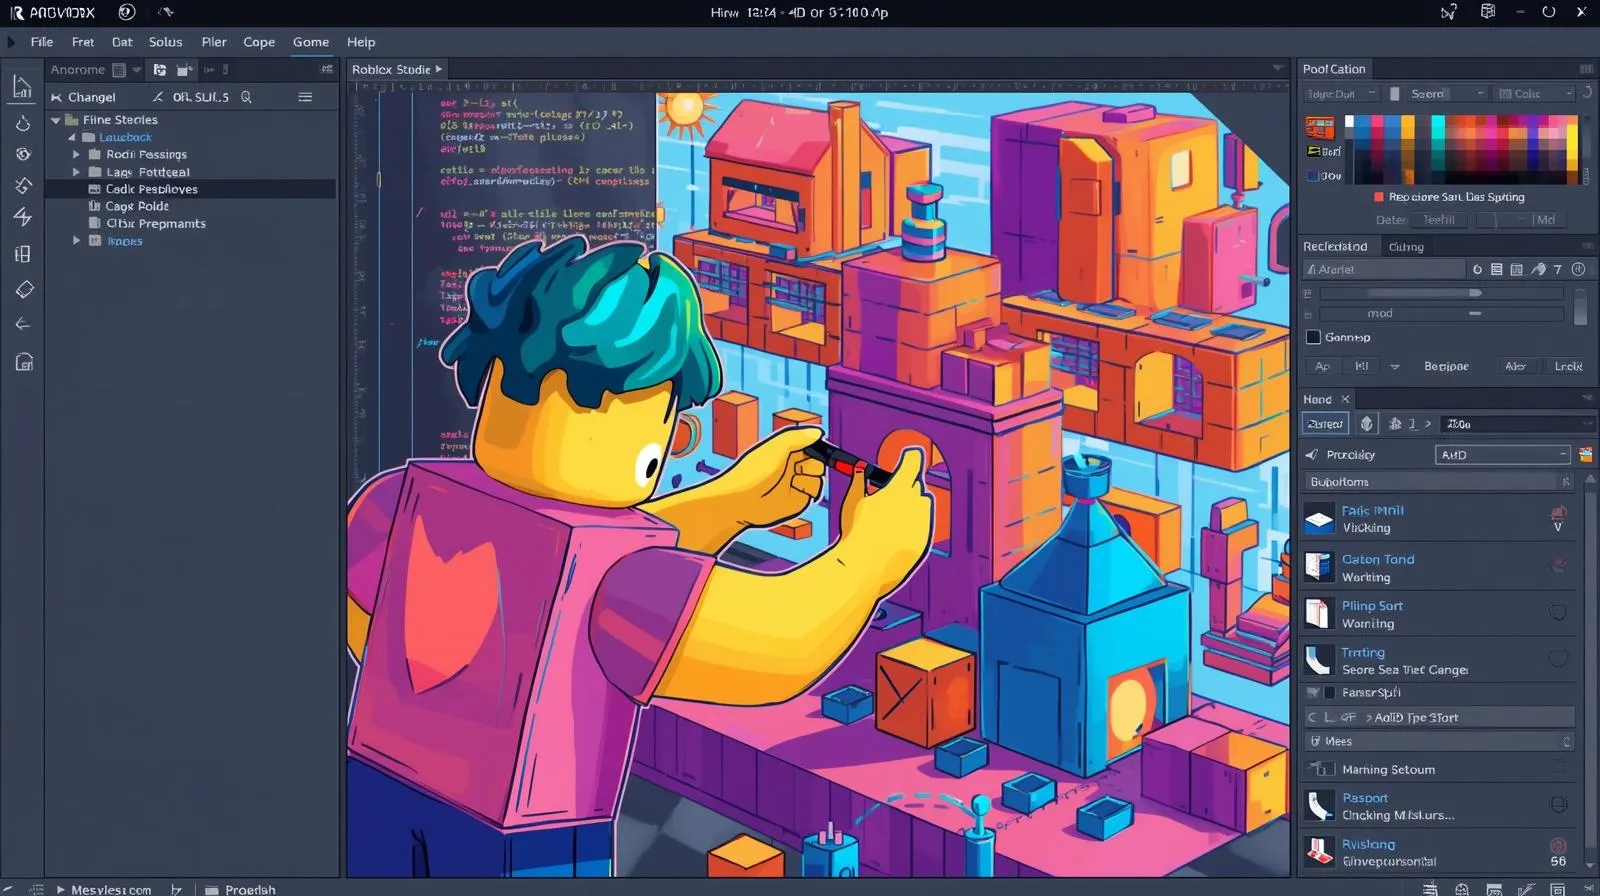
Navigating the Roblox Studio Interface: Your Creative Hub
Once installed, launching Roblox Studio reveals a powerful, yet intuitive, interface. Understanding its layout is key to efficient Roblox game design. Familiarize yourself with the main panels and tools available.
Understanding the Main Panels
The Roblox Studio interface features several critical panels. The “Explorer” window lists every object in your game, from parts to scripts. It’s like a hierarchical blueprint of your entire project. This panel is essential for organizing your work.
The “Properties” window lets you customize selected objects. Here, you can change colors, sizes, positions, and other attributes. Adjusting these properties brings your creations to life. Mastering these two panels is fundamental for all Roblox developers.
Essential Tools for Building
At the top of the Studio window, you’ll find the main toolbar. It contains essential tools like “Select,” “Move,” “Scale,” and “Rotate.” These allow you to manipulate objects precisely within your game world. Each tool serves a specific purpose.
Practice using these tools by creating simple shapes. Experiment with their functions to understand how they interact with objects. These basic manipulations form the backbone of all Roblox building tips and techniques.
Basic Building Blocks: Parts and Models
Every Roblox game starts with basic parts. These fundamental geometric shapes are the atoms of your virtual world. Understanding how to create and modify them is your first step in Roblox game creation.
Creating and Manipulating Basic Parts
To create a part, navigate to the “Model” tab and click “Part.” A new block will appear in your workspace. Use the “Move,” “Scale,” and “Rotate” tools to position and size it. You can change its shape to a sphere, wedge, or cylinder via the “Part” dropdown.
Experiment with different part types and arrangements. These simple elements can combine to form complex structures. This is where your creativity truly begins to take shape.
Leveraging the Toolbox for Assets
The “Toolbox” is a vast library of free assets created by the Roblox community and Roblox itself. You can find models, images, audio, and even scripts here. It’s an invaluable resource for quickly adding content to your game. Always preview assets and ensure they are from trusted creators.
While the Toolbox is a shortcut, learning to build your own assets is crucial. However, for a Roblox beginner guide, it’s perfect for rapidly prototyping ideas. Many Roblox tips suggest using the Toolbox wisely.
Scripting Fundamentals with Lua: Bringing Your Game to Life
While building parts creates the visuals, scripting with Lua gives your Roblox game its interactivity and rules. Lua is a lightweight, easy-to-learn programming language perfect for beginners.
Introduction to Lua Scripting
Lua scripts control game logic, player actions, and environmental interactions. For instance, a script can make a door open, a platform move, or a button trigger an event. These scripts are what make your game dynamic.
You write Lua code in “Scripts” or “LocalScripts” attached to objects or services. A basic script might involve changing a part’s color when touched. This is a great starting point for understanding how code works.
Your First Script: Changing a Part’s Color
Let’s write a simple script. Insert a “Script” into a Part in your Explorer. Double-click the script to open the editor. Type the following:
script.Parent.Touched:Connect(function(hit)
    script.Parent.BrickColor = BrickColor.random()
end)
This script makes the part change to a random color every time a player touches it. This hands-on experience is vital for grasping Roblox scripting strategies. Run your game and test it out!
Creating a Game World: Terrain and Environments
A captivating environment is essential for an engaging Roblox game. Roblox Studio offers powerful tools to sculpt landscapes and decorate your world.
Sculpting Terrain with the Terrain Editor
The “Terrain Editor” allows you to create mountains, valleys, rivers, and oceans. Located under the “Editor” tab, it provides tools like “Add,” “Subtract,” “Smooth,” and “Paint.” You can quickly generate realistic or stylized landscapes.
Experiment with different terrain materials like grass, rock, and water. A well-designed landscape enhances player immersion. This editor is key for Roblox development of expansive worlds.
Adding Environmental Details and Lighting
Beyond terrain, details like trees, rocks, and buildings define your environment. Use models from the Toolbox or create your own. Proper lighting also dramatically impacts the game’s atmosphere. Adjust properties in the “Lighting” service in Explorer.
Changing the time of day, adding fog, or adjusting sun rays can transform the mood. These Roblox design tips significantly improve the player experience. A thoughtful environment keeps players engaged.
Adding Interactivity: GUIs and Player Mechanics
Interactivity is what makes a game fun. This includes graphical user interfaces (GUIs) for player feedback and direct player mechanics. These elements define how players interact with your Roblox game.
Designing User Interfaces (GUIs)
GUIs provide information to players, like health bars, scoreboards, or inventory screens. You create them using “ScreenGuis” and UI elements like “TextLabels,” “TextButtons,” and “ImageLabels.” They appear on the player’s screen.
Designing intuitive GUIs is a form of art. They should be clear, easy to understand, and visually appealing. Good UI design is crucial for all Roblox strategies and player engagement.
Implementing Basic Player Mechanics
Player mechanics define how players control their characters and interact with the world. This could include jump pads, speed boosts, or custom movement scripts. Simple scripts can handle these interactions. For instance, a “LocalScript” in StarterPlayerScripts can manage UI events.
Start with basic mechanics and gradually add complexity. Think about what makes popular Roblox games enjoyable. Your goal is to make the player feel in control and have fun.
Testing and Debugging Your Game: Ensuring Quality
Thorough testing and debugging are non-negotiable steps in Roblox game development. No game is perfect on the first try. Identifying and fixing issues ensures a polished and enjoyable experience.
Playtesting Within Roblox Studio
Roblox Studio includes a built-in playtest mode. Click the “Play” button (or “Run” for server-side testing only) in the Home tab. This allows you to experience your game as a player would. Test all mechanics, interactions, and potential bugs.
Playtesting is your most powerful tool for finding issues. Always test changes immediately. This iterative process is a core Roblox tip for quality assurance.
Using the Output Window and Debugger
The “Output” window (View > Output) displays errors, warnings, and messages from your scripts. It’s an invaluable tool for debugging. When a script breaks, the output window usually tells you why and where.
The “Debugger” (Test > Debugger) allows you to pause script execution and inspect variable values. Learning to use these tools effectively will save you countless hours. Mastering debugging is a sign of advanced Roblox strategies.
Publishing and Sharing Your Creation: Reaching Your Audience
After building and refining your Roblox game, it’s time to share it with the world! Publishing is a straightforward process that makes your game accessible to millions of players.
Uploading Your Game to Roblox
To publish, go to “File” > “Publish to Roblox As…” or “Save to Roblox.” You can save it as a new game or update an existing one. Fill in the game’s title, description, and genre. Choose appropriate access settings (public, private, friends only).
Ensure your game title and description are compelling. This is your game’s first impression on potential players. Effective descriptions are part of solid Roblox marketing tips.
Setting Game Permissions and Monetization Options
In the game’s settings on the Roblox website, you can configure various options. This includes setting player counts, enabling private servers, and managing monetization. You can decide if your game is free or requires Robux for access.
This is also where you can set up Roblox game passes and developer products. These are key ways to monetize your creations. Proper settings help ensure your game’s visibility and success.
Monetization and Community Engagement: Earning and Growing
Roblox games offer genuine opportunities for creators to earn Robux and build a dedicated player base. Understanding these avenues is crucial for long-term success.
Earning Robux with Game Passes and Dev Products
Game Passes are one-time purchases that grant players special abilities, items, or access. Developer Products are consumable items that players can buy multiple times. These are primary income streams for Roblox developers. Carefully consider what value your passes offer.
The Developer Exchange (DevEx) program allows eligible creators to convert earned Robux into real-world currency. This is a significant incentive for dedicated Roblox game creators. Earning free Robux safely requires engaging players and creating value.
Building a Community Around Your Game
Engaging with your player base is vital. Respond to feedback, host in-game events, and use social media to connect. A strong community can lead to higher player retention and organic growth. Consider creating a Roblox group for your game.
Regular Roblox updates keep your game fresh and exciting. Listen to player suggestions for new features. A vibrant community is often the secret behind the best Roblox games.
Strategy Section: Pro Tips, Common Mistakes, and Future Trends
Moving beyond the basics requires deeper insight. These Roblox strategies will help elevate your game development journey, avoid pitfalls, and prepare for what’s next.
Pro Tips for Efficient Development
- Organize Your Workspace: Use folders in the Explorer to keep your parts, scripts, and models tidy. A clean workspace makes development faster and less frustrating.
- Utilize Version Control: Save frequently and use Roblox’s built-in version history (File > See Version History). This lets you revert to previous saves if something goes wrong.
- Leverage Modules: For complex scripts, use ModuleScripts to break down code into reusable, manageable chunks. This improves code readability and maintainability.
- Optimize Performance: Keep part counts reasonable, use efficient scripts, and enable streaming enabled for large worlds. Good performance is key to player retention.
Common Mistakes to Avoid as a Beginner
- Over-Complicating Early: Don’t try to build the next Adopt Me! or Jailbreak as your first project. Start small, finish it, then iterate.
- Ignoring Feedback: Player feedback is invaluable. Listen to what players say, but don’t try to implement every suggestion. Filter for constructive criticism.
- Lack of Testing: Releasing untested games leads to frustrated players and negative reviews. Test, test, and test again before publishing Roblox updates.
- Using Too Many Free Models Uncritically: While the Toolbox is useful, excessive or low-quality free models can introduce bugs, lag, or even malicious scripts. Always check models thoroughly.
Future Trends in Roblox Development (2026 and Beyond)
The future of Roblox development is exciting. Expect to see:
- AI-Assisted Creation: AI tools will increasingly help generate assets, code snippets, and even entire game layouts, accelerating development.
- Enhanced Social Features: Deeper integration with social media and expanded in-game communication tools will foster stronger communities.
- Immersive Metaverse Experiences: Roblox is leaning heavily into the metaverse concept, with more interconnected experiences and persistent player identities. This will drive new Roblox trends.
- Advanced Visuals: Continued improvements in rendering technology will allow for even more stunning and realistic Roblox games, pushing graphical boundaries.
Frequently Asked Questions (FAQ)
Q1: Is Roblox Studio free to use for game development?
A1: Yes, Roblox Studio is completely free to download and use for creating games. There are no subscription fees or costs associated with developing your games. You only incur costs if you choose to buy assets or promote your game with Robux.
Q2: How long does it take to build a basic game in Roblox Studio?
A2: A very basic game can be built in a few hours or a day. However, a polished, engaging game with unique mechanics and visuals might take weeks or months. Learning Roblox Studio is an ongoing journey of skill development.
Q3: Can I make real money by creating games on Roblox?
A3: Yes, you can make real money through the Roblox Developer Exchange (DevEx) program. By selling game passes, developer products, and premium payouts, you earn Robux. These Robux can then be converted into real-world currency once you meet eligibility criteria.
Q4: What programming language does Roblox Studio use?
A4: Roblox Studio primarily uses Lua for scripting game logic. Lua is a relatively easy-to-learn, lightweight scripting language. It’s an excellent choice for beginners and allows for powerful interactions within your Roblox games.
Q5: Where can I find help if I get stuck while building my game?
A5: Roblox offers extensive documentation on its Creator Hub. You can also find help on the Roblox Developer Forum, YouTube tutorials, and community Discord servers. The Roblox community is vast and generally very supportive of new developers.
Conclusion: Your Journey as a Roblox Creator Begins Now
You now have a robust understanding of how to build your first game in Roblox Studio. This guide has covered essential steps, from interface navigation to scripting, publishing, and even monetization. The world of Roblox development is vast and rewarding.
Remember that practice and persistence are your best allies. Continue experimenting, learning, and engaging with the vibrant Roblox community. The next generation of best Roblox games could be created by you. Start building today, and transform your vision into an interactive reality.