Creating realistic metal in Roblox Studio is essential for captivating experiences in 2026. This guide provides expert insights for crafting visually stunning metallic surfaces. Mastering these techniques elevates your game’s immersion and visual fidelity significantly. Developers can achieve professional-grade aesthetics with advanced material handling.
Modern Roblox games demand detailed assets to stand out. Realistic metal textures and shaders are key components of this visual upgrade. We will explore everything from basic material properties to advanced Physically Based Rendering (PBR) techniques.
Understanding Roblox Studio’s Material System
Roblox Studio offers robust tools for defining how objects look and interact with light. The material system determines an object’s base visual properties. Understanding this foundation is crucial before diving into advanced realism. Every part has a material property that dictates its surface.
Built-in Materials for Basic Metal Effects
Roblox Studio includes several default materials that provide starting points for metal. Materials like “Metal,” “CorrodedMetal,” and “Slate” offer basic metallic appearances. These built-in options are quickly applied to any part. They provide general visual characteristics, but often lack true realism.
For example, the “Metal” material offers a smooth, reflective surface. “CorrodedMetal” introduces a weathered, aged look. While simple, they don’t capture the nuanced interplay of light and surface details.
The Importance of Material Properties
Each material has properties that define its color, reflectivity, and texture. Developers adjust these properties to fine-tune appearances. Understanding these controls is vital for achieving desired visual outcomes. Color, transparency, and reflectance are fundamental adjustments.
The “Reflectance” property controls how much light bounces off a surface. Higher reflectance means a shinier appearance. “Transparency” dictates how see-through an object is, which is less relevant for solid metal.
Leveraging Physically Based Rendering (PBR) with SurfaceAppearance
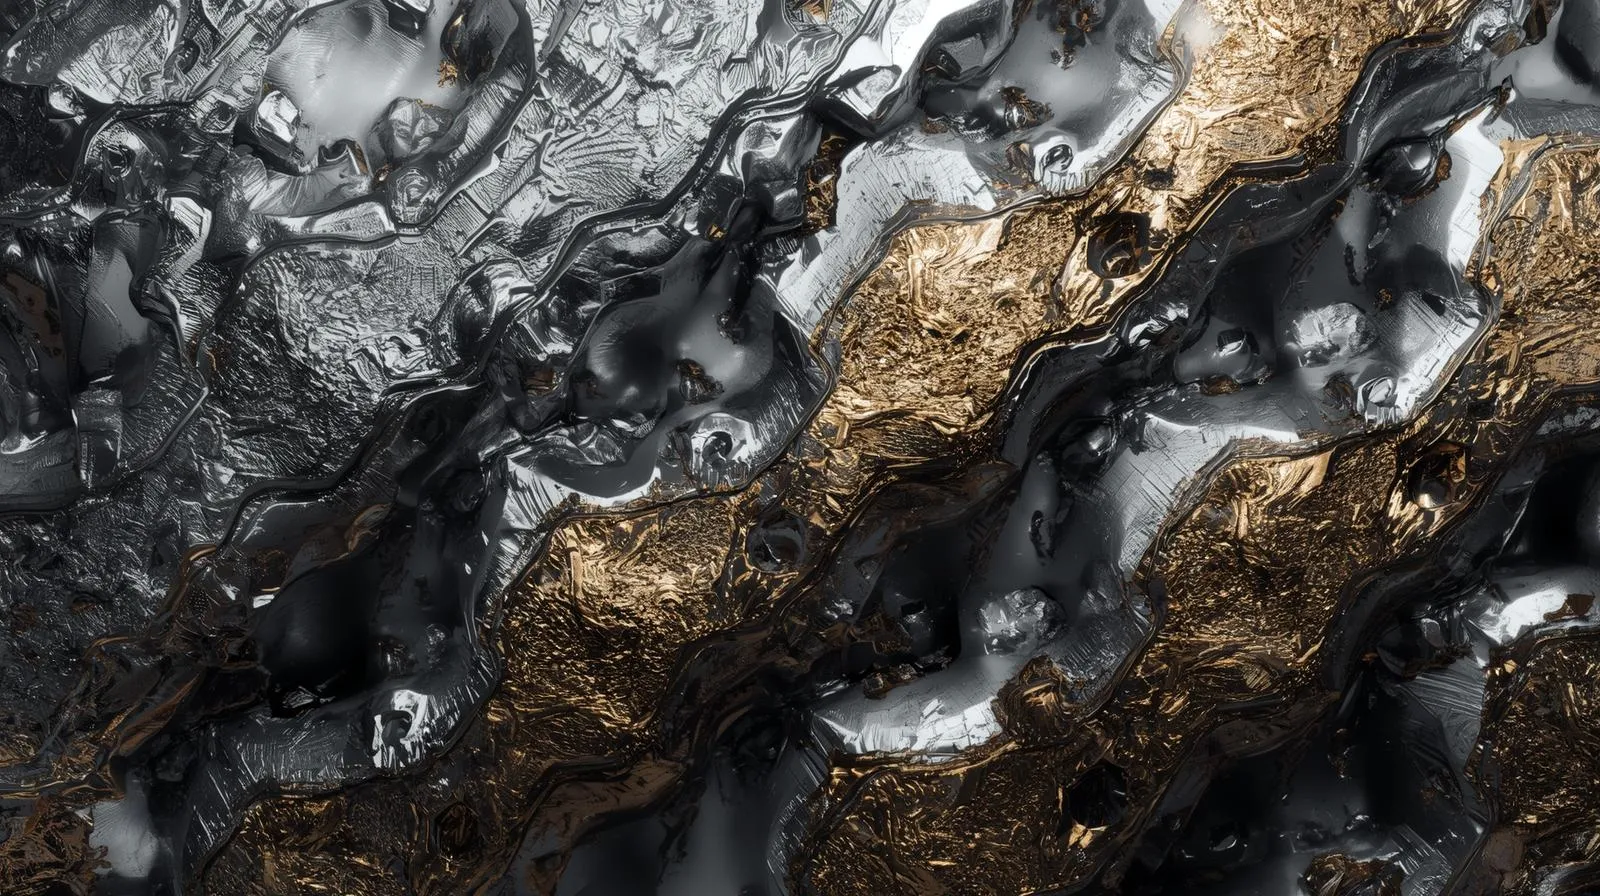
Achieving true realism for metal in Roblox Studio relies heavily on Physically Based Rendering (PBR). PBR accurately simulates how light interacts with surfaces based on real-world physics. It ensures materials look correct under various lighting conditions. This advanced technique makes surfaces truly believable.
What is PBR and Why Does it Matter for Metal?
PBR uses multiple texture maps to define a material’s physical properties. These maps provide detailed information for the rendering engine. For metal, PBR simulates properties like albedo, roughness, and metallicness. This leads to consistent and realistic appearances across different environments.
Traditional rendering often fails to produce convincing metal. PBR’s accuracy ensures your metal looks shiny, tarnished, or brushed as intended. It greatly enhances visual quality and immersion in Roblox games.
Introducing SurfaceAppearance
The SurfaceAppearance object is Roblox Studio‘s primary tool for implementing PBR textures. You attach this object to a MeshPart to apply PBR materials. It allows for the use of custom texture maps, providing immense control over realism. SurfaceAppearance unlocks a new level of detail.
This powerful object supports various texture types. These include Color (Albedo), Normal, Metalness, and Roughness maps. Combining these maps creates incredibly detailed metallic surfaces.
Essential PBR Texture Maps for Metal
Four key texture maps work together within SurfaceAppearance to define realistic metal:
- ColorMap (Albedo): This map defines the base color of the metal without any lighting information. It should be flat and unlit to avoid baking in shadows. For metals, it often represents the hue of the material itself.
- NormalMap: This map adds high-fidelity surface detail without increasing polygon count. It simulates bumps, scratches, and imperfections. Normal maps give the illusion of complex geometry.
- RoughnessMap: This map controls how rough or smooth the metal surface is. Rougher areas scatter light more, appearing duller. Smoother areas reflect light cleanly, appearing shinier. It is crucial for distinguishing between polished and brushed metal.
- MetalnessMap: This map specifies which parts of the texture are metallic and which are dielectric (non-metal). Metalness maps are often black and white, where white signifies metal. This map is vital for PBR’s accurate light interaction.
Applying SurfaceAppearance in Roblox Studio
To apply SurfaceAppearance, insert a MeshPart into your workspace. Then, add a SurfaceAppearance object as a child of the MeshPart. Upload your PBR textures to Roblox as decals or image assets. Paste their Asset IDs into the corresponding SurfaceAppearance properties (e.g., ColorMap, NormalMap).
Ensure your textures are correctly aligned and scaled. Experiment with different combinations of maps to achieve diverse metal types. Adjusting the AlphaMode property can also impact how transparent parts of your texture render.
Utilizing MaterialService for Customization
The MaterialService is a powerful, relatively newer feature in Roblox Studio. It allows developers to create and manage custom physical materials for their entire game. This provides a centralized way to define and apply complex material behaviors. It streamlines material management across your project.
Global Material Overrides
MaterialService enables overriding Roblox‘s default materials or creating entirely new ones. This means you can define your own realistic metal material once. Then, apply it to any part using the built-in “Metal” enum. Your custom material will globally replace the default.
This approach ensures consistency and simplifies asset creation. Any part set to the overridden material will automatically use your custom PBR setup. It’s incredibly efficient for large-scale projects.
How to Use MaterialService for Metal
To implement custom metal via MaterialService, insert a MaterialService object into ReplicatedStorage. Create new MaterialVariant objects within MaterialService. Each MaterialVariant represents a custom material. Set its BaseMaterial to “Metal” (or another appropriate base).
Upload your PBR textures and assign their Asset IDs to the MaterialVariant‘s corresponding properties. Once configured, all parts with their Material property set to “Metal” will use your custom variant. This offers granular control over your metallic aesthetic.
Optimizing Lighting for Metal Realism
Even the most perfect PBR metal textures will look flat without proper lighting. Lighting plays a paramount role in showcasing the reflective and refractive properties of metal. Accurate lighting brings your metallic assets to life within Roblox Studio. It’s the final polish for true realism.
Environmental Lighting and Skyboxes
An environment map or skybox provides ambient lighting and reflections for your scene. For realistic metal, a detailed HDR (High Dynamic Range) skybox is invaluable. It provides rich reflections that dynamically interact with metallic surfaces. Without a good skybox, metal can appear dull.
Change your Sky object’s Skybox property to a high-quality HDR image. This will significantly improve how light interacts with your PBR metal. The reflections will become more nuanced and realistic.
PointLights, SpotLights, and SurfaceLights
Direct light sources enhance the visual impact of metal. PointLights, SpotLights, and SurfaceLights create highlights and specular reflections. Position these lights strategically to emphasize metallic details. They define the glint and shine of your materials.
Experiment with light color, intensity, and range. Pay attention to how reflections behave on different metal surfaces. Good direct lighting makes polished metal truly sparkle.
Reflection Probes for Local Reflections
ReflectionProbes capture local reflections within a specific area. These are critical for small, intricate metallic objects or interiors. They provide accurate reflections for nearby geometry, overcoming the limitations of global skybox reflections. ReflectionProbes enhance realism in enclosed spaces.
Insert a ReflectionProbe into your scene and scale it to cover your metallic object. Roblox Studio will automatically capture and apply localized reflections. This creates a much more believable metallic sheen.
Advanced Techniques and Post-Processing
Pushing metal realism further involves combining techniques and using post-processing effects. These advanced strategies refine the final look of your metallic assets. They add depth, atmosphere, and a professional sheen to your Roblox games.
Layering Materials and Textures
Sometimes, a single SurfaceAppearance isn’t enough for complex metal. You can layer materials using multiple MeshParts or by baking intricate textures. For example, creating a base metal mesh and overlaying decals for wear and tear. This method adds rich, multi-faceted details.
Consider using blended textures in your DCC (Digital Content Creation) software. This allows for mixing different metal types or adding grime directly into your PBR maps. It’s a powerful workflow for highly detailed surfaces.
Environment Maps for Specific Reflections
Beyond skyboxes, you can use custom EnvironmentMap properties on MeshParts for unique reflections. This allows a specific object to reflect a distinct image. It’s useful if you want a chrome object to reflect a specific scene. This provides granular control over individual reflections.
This technique is less common for general metal but powerful for hero assets. It can create very specific, artistic reflections.
Post-Processing Effects for Enhanced Realism
Roblox Studio offers various PostProcessEffects to enhance the overall visual quality. Effects like Bloom, ColorCorrection, and Vignette can elevate metallic realism. Bloom makes bright reflections glow, adding a touch of cinematic quality.
ColorCorrection adjusts the overall color palette, influencing how metal hues appear. DepthOfField can draw focus to metallic objects. Experiment with these effects to find what best complements your metal.
Strategic Tips for Realistic Metal in Roblox Studio
Mastering realistic metal involves more than just applying textures. It requires strategic thinking and a keen eye for detail. Here are some pro tips and common mistakes to avoid.
Pro Tips for Exceptional Metal
- Reference Real-World Metal: Always study real metal objects. Observe how light interacts with different finishes (polished, brushed, rusted). This builds an intuitive understanding.
- Utilize High-Quality PBR Maps: Source or create PBR textures with high resolution and detail. Low-resolution maps will pixelate and break realism.
- Test on Various Devices: Ensure your metal looks good on different graphics settings and platforms. What looks great on a powerful PC might not on mobile.
- Subtle Imperfections are Key: Even polished metal has tiny scratches or smudges. Incorporate these subtly into your roughness or normal maps for authenticity.
- Bake Ambient Occlusion: Ambient Occlusion (AO) maps add soft shadows where surfaces meet. This grounds your metal objects, making them feel more integrated into the scene.
Common Mistakes to Avoid
- Overly Reflective Surfaces: Not all metal is mirror-like. Overdoing reflectance without roughness makes metal look plastic or unrealistic.
- Ignoring Roughness Maps: A roughness map is paramount. Without it, metal looks uniformly shiny or dull, lacking variety and depth.
- Incorrect Normal Map Orientation: Ensure your normal maps are generated for the correct handedness (e.g., OpenGL vs. DirectX). Incorrect maps will make surfaces appear inverted.
- Poor Lighting: Neglecting lighting will make even the best PBR textures appear flat. Invest time in setting up proper lights and reflections.
- Using Non-PBR Workflow with
SurfaceAppearance: Don’t mix old texture types with PBR.SurfaceAppearancerequires specific PBR maps to function correctly.
Future Trends in Roblox Materials
Roblox continuously updates its rendering engine and material capabilities. Expect further advancements in real-time ray tracing support and more integrated material authoring tools. The focus on realism will only intensify. Keep an eye on Roblox updates for new features.
New capabilities may simplify complex PBR workflows even further. Developers should stay informed about these Roblox trends to leverage the latest rendering tech. This ensures your games remain at the forefront of visual quality.
FAQ: Making Realistic Metal in Roblox Studio
Q1: What is the best way to get realistic metal textures for Roblox Studio?
A1: The best way is to use Physically Based Rendering (PBR) texture maps (Albedo, Normal, Roughness, Metalness). You can create these yourself in 3D software or download high-quality PBR texture sets from reputable online libraries.
Q2: Why doesn’t my metal look shiny in Roblox Studio, even with PBR?
A2: If your metal isn’t shiny, check your RoughnessMap (ensure shiny areas are darker) and MetalnessMap (ensure metal areas are white). Also, verify your SurfaceAppearance is correctly applied to a MeshPart and your lighting includes bright PointLights or a detailed skybox for reflections.
Q3: How do I apply custom PBR materials globally in my Roblox game?
A3: Use the MaterialService. Insert a MaterialService object, create a MaterialVariant, set its BaseMaterial to “Metal,” and then assign your PBR texture Asset IDs to its properties. Any part set to the “Metal” material will then use your custom PBR variant.
Q4: Can I use realistic metal on parts that aren’t MeshParts?
A4: SurfaceAppearance, which enables PBR, is primarily designed for MeshParts. While you can apply custom MaterialVariants via MaterialService to regular Parts, their visual fidelity may vary. For optimal realism, use MeshParts.
Q5: What’s the difference between SurfaceAppearance and MaterialService?
A5: SurfaceAppearance applies a single, specific PBR material to an individual MeshPart. MaterialService, on the other hand, allows you to create and globally manage custom MaterialVariants that can override or extend Roblox’s built-in materials, affecting multiple parts across your game.
Conclusion
Crafting realistic metal in Roblox Studio is a rewarding endeavor that significantly enhances game immersion. By understanding PBR principles, mastering SurfaceAppearance, leveraging MaterialService, and optimizing lighting, you can create stunning metallic assets. These techniques provide a foundation for professional-grade visual development.
Continue to explore Roblox Studio‘s evolving material systems and rendering capabilities. The pursuit of realism is an ongoing journey. With these Roblox tips and Roblox strategies, your creations will truly shine. Dive in and start building your visually striking Roblox games today!